If you’ve recently switched from Windows to a Chromebook, you might be wondering: Where’s my Snipping Tool? Good news – Chromebook has its own built-in screenshot features that offer similar functionality, including quick editing options.
Here are two easy ways to capture and edit screenshots on a Chromebook:
🖱️ Method 1: Use the Screen Capture Tool
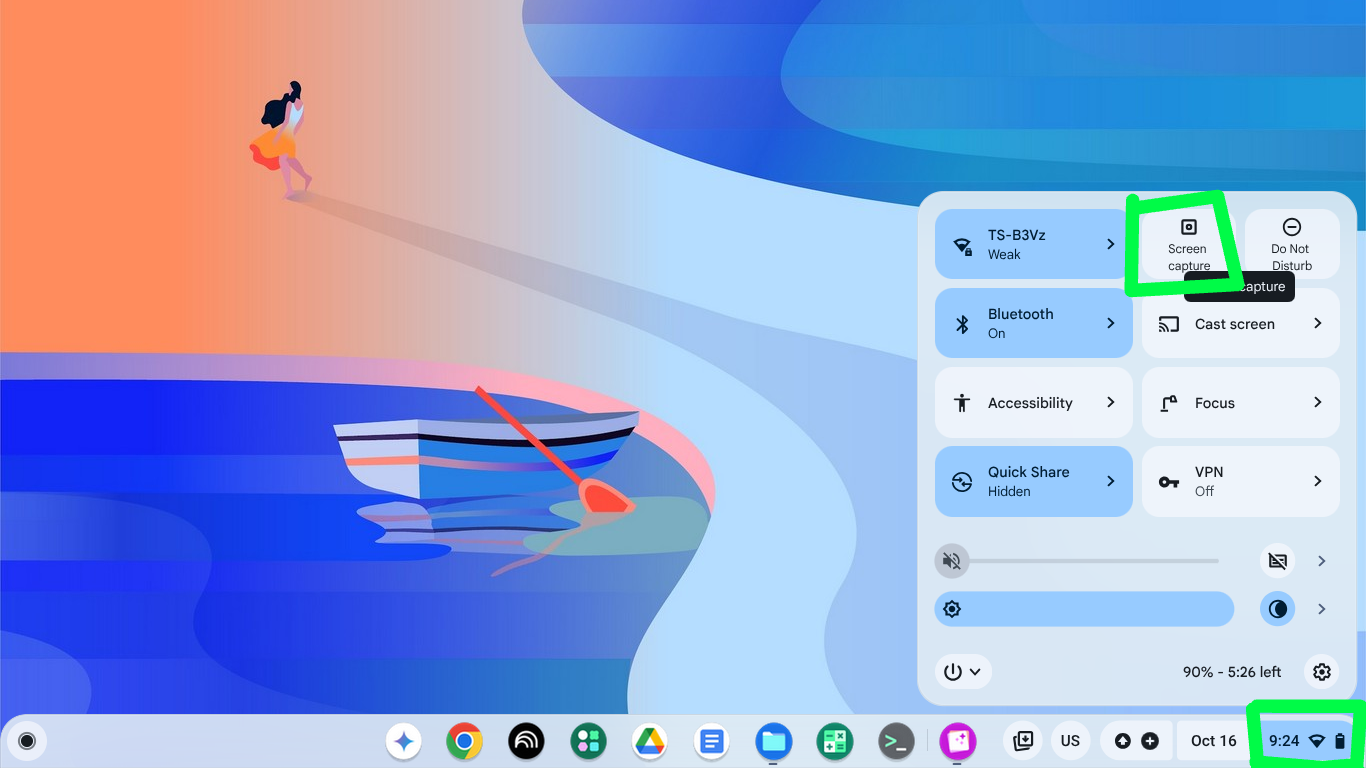
- Click the clock in the lower-right corner of your screen to open the Quick Settings panel.
- Tap the Screen Capture button.
- Choose your capture mode:
- 📷 Full screen
- 📐 Partial screen (drag to select a rectangle)
- 🪟 Window-only
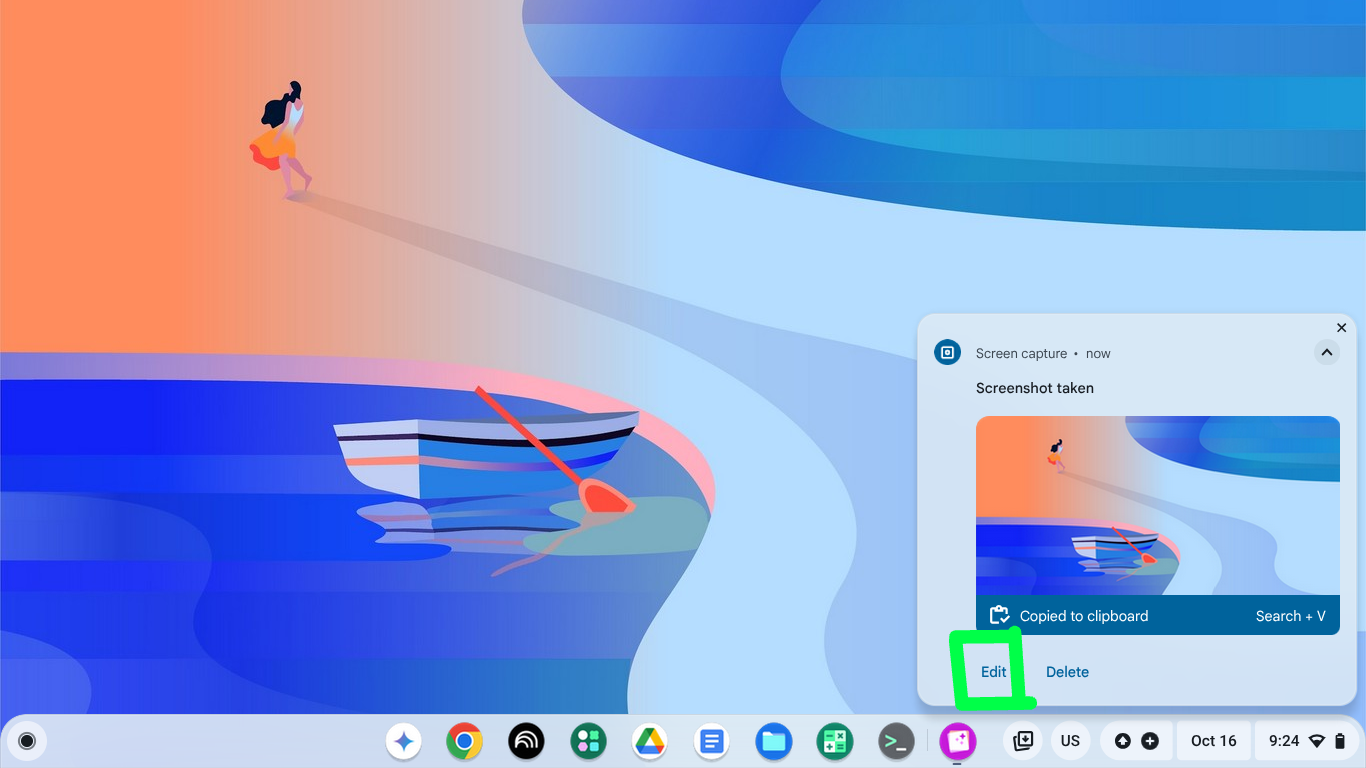
Once you take the screenshot, a preview pop-up appears in the bottom-right corner. Click Edit to crop, annotate, or adjust—just like you would with the Snipping Tool on Windows. You can then save the file.

⌨️ Method 2: Use a Keyboard Shortcut
Press Ctrl + Show Windows key
(The Show Windows key looks like a rectangle with two vertical lines next to it.)
This instantly captures your screen. Again, look for the Edit button in the preview pop-up to make changes.
✨ Bonus Tips
Chromebooks save screenshots to your Downloads folder by default, making it easy to find and share them later. Also, you can edit screenshots and generally images using the same editing app by clicking / tapping on an image file in the Files app.
Leave a Reply